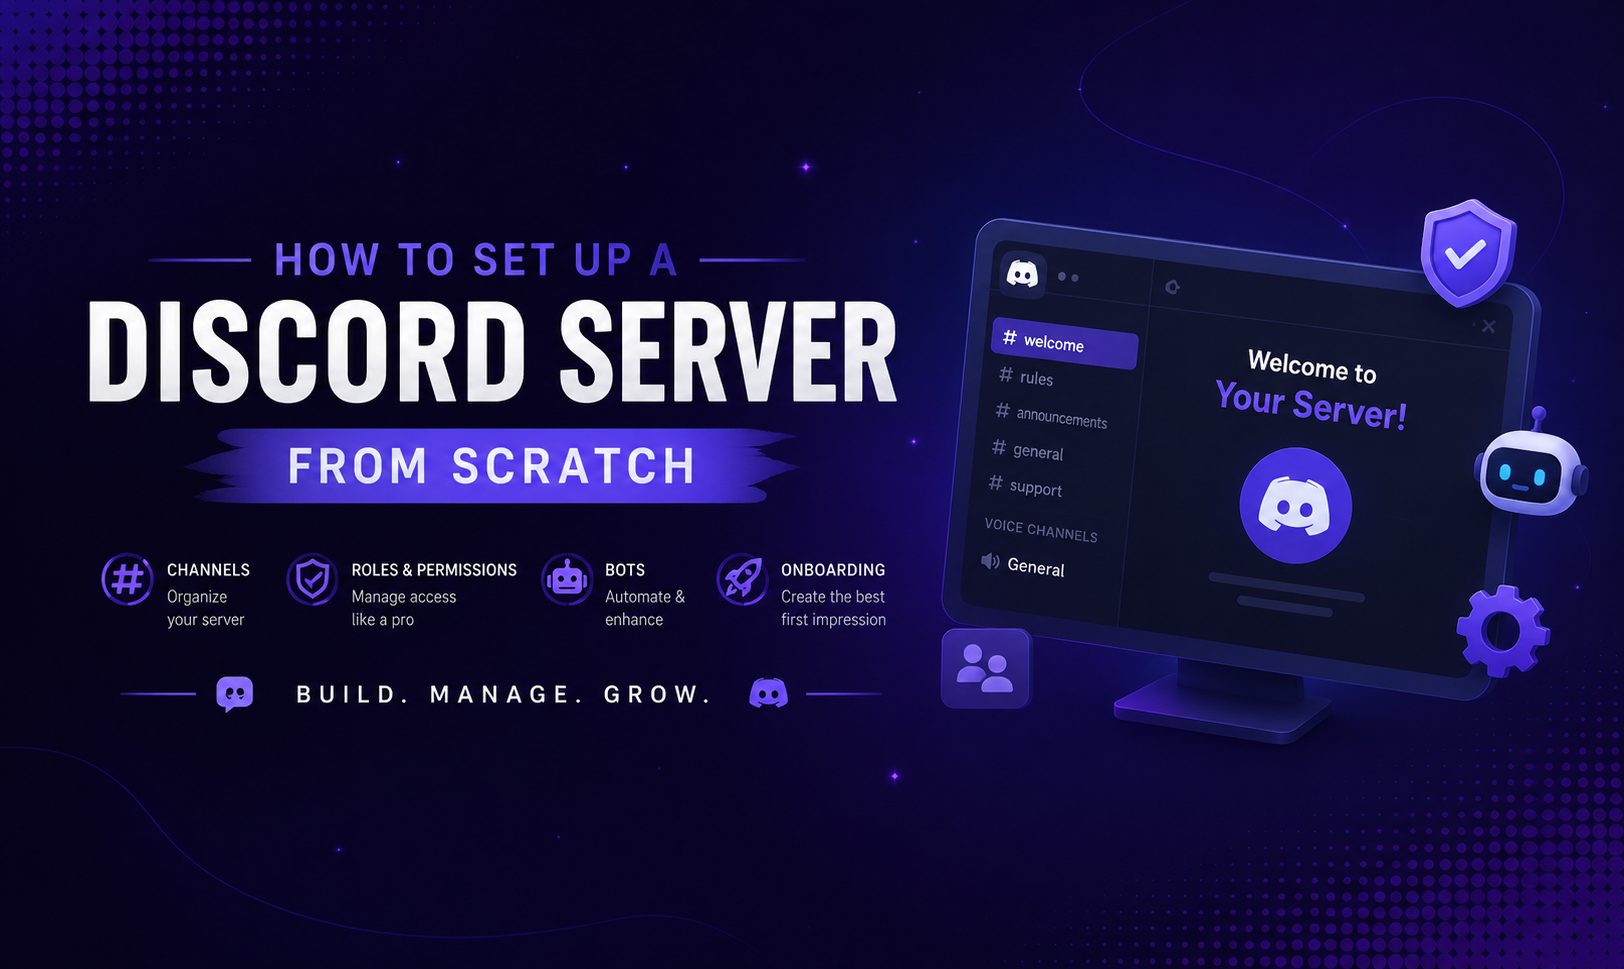
How to Set Up a Discord Server From Scratch (Complete Guide)
Setting up a Discord server correctly from the start saves hours of reorganizing later. Here's the full process, in order.
Step 1: Create the Server
- Open Discord and click the + button in the left sidebar
- Choose "Create My Own" (not a template - we'll build it properly)
- Select whether it's for a community or a small group
- Give it a name and add an icon
Icon tip: Use a square image at 512x512 pixels minimum. Discord compresses images, so starting larger maintains quality.
Step 2: Enable Community
Go to Server Settings > Enable Community. This unlocks:
- Forum channels
- Server rules channel
- Member onboarding
- Server insights/analytics
Community servers get more features and better discovery through Discord's built-in Explore tab.
Step 3: Design Your Channel Structure
Start with these categories and channels:
WELCOME
- #rules - your server rules
- #announcements - major updates (admin-only posting)
- #start-here - a brief guide for new members
- #roles - self-assign roles
GENERAL
- #general-chat - the main conversation channel
- #introductions - where new members say hello
- #off-topic - for conversations that don't fit elsewhere
[YOUR TOPIC] Create channels specific to your community's purpose. A gaming server adds game channels. A coding server adds language-specific channels.
VOICE
- General Voice
- Gaming / Study / Work (whatever fits your community)
- AFK - a channel where idle members auto-move
Step 4: Set Up Roles
At minimum, create:
- Admin - Full permissions. Only you and co-founders.
- Moderator - Can kick, ban, manage messages. Trustworthy volunteers.
- Member - Standard permissions. Everyone who passes verification.
- Verified or Bot roles as needed
Color-code your staff roles so they're visible. Keep the role hierarchy clear - higher roles have more permissions.
Step 5: Configure Permissions
Lock down by default, open up intentionally:
- @everyone should NOT have permission to send messages in #announcements
- @everyone should NOT be able to mention @everyone or @here
- New members should NOT see all channels until they've read the rules
Use Discord's permission system to create a verification gate: new members see only #rules and #start-here until they react to a message or complete onboarding.
Step 6: Install Bots
Recommended starter stack:
- Carl-bot - moderation, logging, reaction roles, welcome messages
- MEE6 or Arcane - leveling and XP
Configure Carl-bot's automod to filter slurs, spam, and mass mentions.
Step 7: Write Your Rules
Keep rules short and specific. 5-8 rules beats 20. Cover:
- Be respectful - no harassment or slurs
- Stay on topic per channel
- No spam or self-promotion without permission
- No NSFW content
- Listen to moderators
Step 8: Set Up Onboarding
Server Settings > Onboarding. Create a guided flow that:
- Prompts new members to select relevant roles (interests, pronouns, etc.)
- Shows them which channels to explore first
- Sets their initial channel access
Step 9: List Your Server
Once the server is ready, list it on Discords.ai and other listing platforms. Write a compelling description. Set up your tags. Start bumping daily.
Step 10: Announce and Invite
Share the invite link in relevant communities, post on social media, and personally invite your first 10-20 members. The first people set the culture.